Rory's Argyle Vest
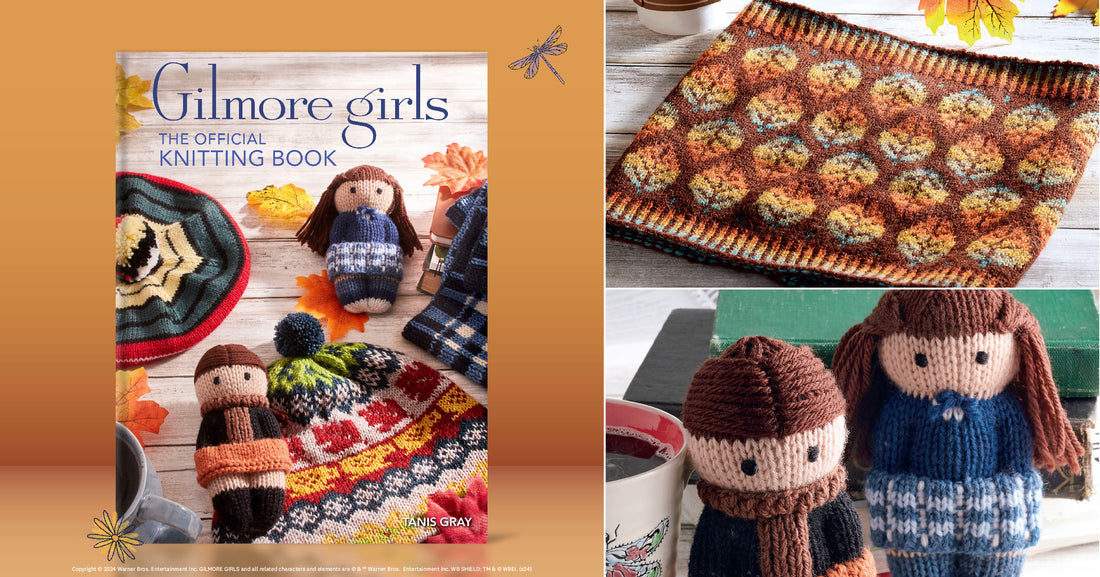
Gilmore Girls: The Official Knitting Book by the incomparable Tanis Gray has arrived and I am excited to share with you the two patterns I contributed to this book. First is the Stars Hollow Scarf, a fingering weight beaded, stranded colorwork scarf worked in two pieces and grafted in the center. (I know, who am I? Fingering weight? Beads?) The second is Rory's Argyle Vest, the focus of this post. (Again, who am I? Colorwork? Garment?!) I can't thank Tanis enough for believing that I could do this!


This is my first ever garment design, and true to my nature, I was up for a challenge. I knew an argyle or plaid pattern was something I wanted to incorporate into a design. Serendipitously, through a slight misunderstanding, an argyle scarf morphed into a vest design. The vest is constructed in the round from the bottom up. Steeks are set up to allow for the colorwork to be knit in the round continuously. The neckline and arm holes are cut and secured before stitches are picked up for the ribbed finishing.
This sounds all fine and dandy, right? Except.. whoa. This was a lot to learn in a short amount of time. I had never steeked before, had never designed a garment, had never done such a large project in stranded colorwork, and had never graded a garment. But I did it! I knit not one, not two, but SIX gauge swatches to get what I wanted. I practiced steeking with each one. A ton of research went into this before I even cast on one single stitch. I made one practice vest before casting on the official one, which I frogged twice. (Once for twisting the join, noticing about 3" in, and second because my stitches were too tight.) I got a crash course in grading from Meaghan, the amazing tech editor for this book, who explained things in a matter-of-fact way that was easy to me to understand. All said and done, the final result is something I'm pretty proud of.
I managed to take some progress photos just to say: hey, I did this! I mean, look at this photo below. This is what the vest looks like just before blocking and cutting the steeks. It doesn't look like anything to me, but I forged ahead.

Cut along the dotted line. Just kidding. There's no dotted line. All that's there are some threads securing stitches next to where I'll be cutting.
I chose to do a hand sewn steek over other methods. One, because I'm terrified of the sewing machine. Two, because this is worsted weight, I felt a crochet reinforcement would make it bulkier that it already is. Then, I cut. It was weird cutting into something knit, a bit scary even if I knew it wouldn't unravel on me.

Here's what it looks like on my first sample. It now resembles a vest! It's kind of a mess, but the stitches were as secure as I felt they could be on this superwash wool sample. That being said, it's very important to use a non-superwash wool for steeking! The scales on non-superwash wool are very important to ensure the stitches grab onto each other. At least this one held together until I could tack down the steeks at the end, but it wasn't as pretty as the official one.
The shoulders were extended a few rows and then joined using a 3-needle bind off.

The neckline and arm openings were finished by picking up stitches to complete the ribbed pattern. I tacked downt he edges carefull and then it took one last turn on the blocking mat to smooth everything out. Voilà! We're done!

This was such an incredible experience from start to finish. This is the third book I've had the honor to contribute patterns to and I hope you get a chance to pick up the book and look at all of the beautiful designs in it! Happy knitting! ♥
Book photos courtesy of @insighteditions and @tanisknits